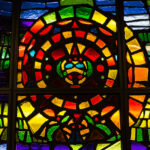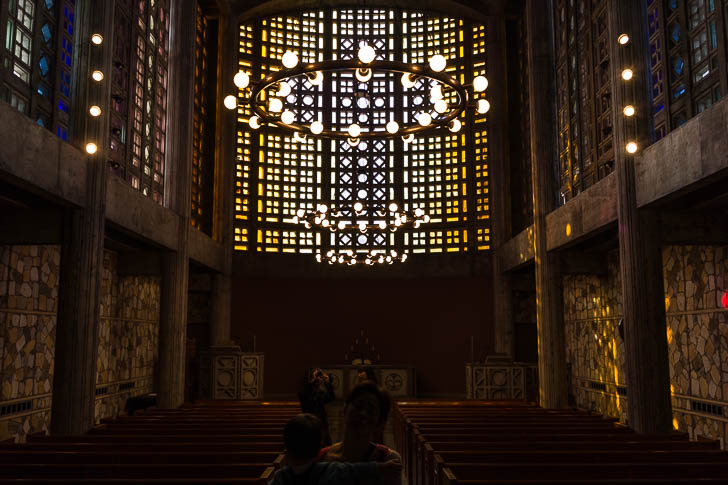
ステンドグラスのパターン
ステンドグラスでは、パターン(繰り返しの柄)のデザインが良く用いられるが、今回はそのパターンを幾つか描いてみる。
全くの自由曲線で出来た柄は難しいのでまた別の機会にとっておくとして、今回は幾何学的な柄、特に直線系の柄を。
直線は、正方形や正三角形を基本形としたものが主だ。それに様々な要素を組み合わせ、形にしていくことになる。
出来上がったパターンと併せて、そこに至るまでの過程も、淡々と載せていく。
デザインとその過程
正方形を描き、それを45度傾けた同じ形の正方形を組み合わせる。
中の余計な線を省く。
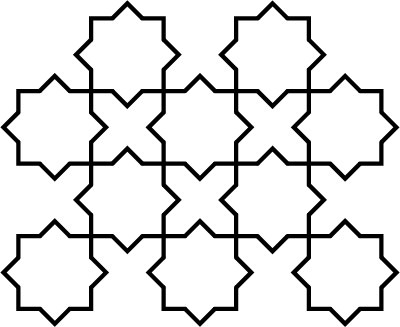
互い違いに並べる。
線をケイムの太さにして、完成。ガラスの形がちょっと厳しいが、それはまた別途検討することとする...。
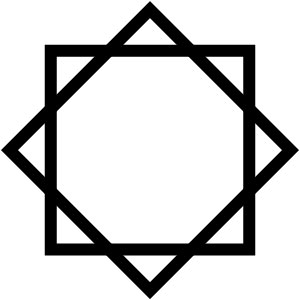
垂直の2本の線を90度傾けて、更に全体を45度傾ける。
中の余計な線を省く。
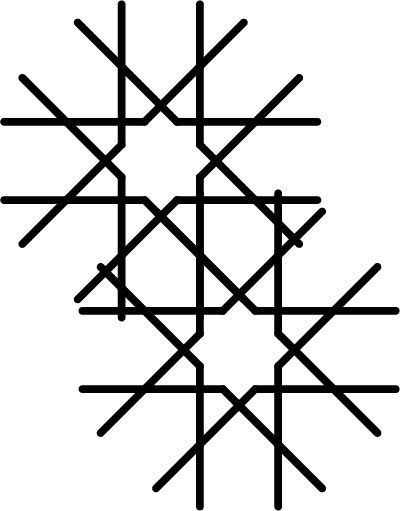
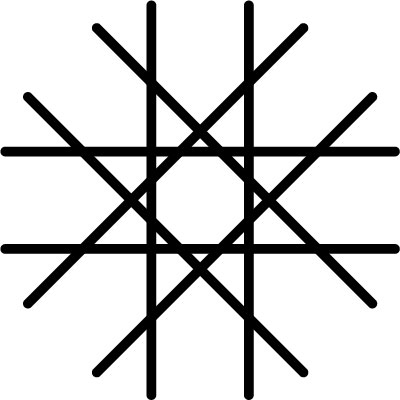
出来た図形をコピーして、右下の交点と左上の交点を重ねる。
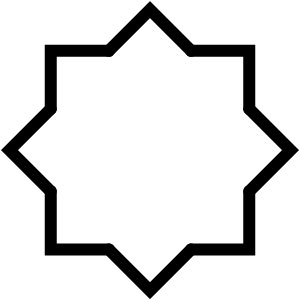
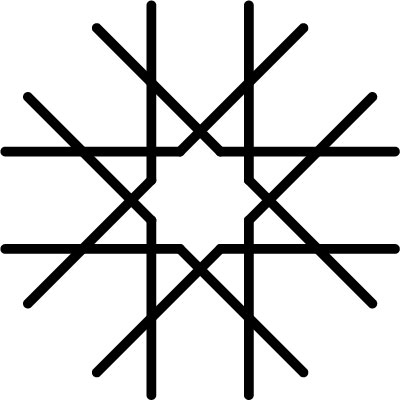
同じ要領でさらに上の様に重ねると、中心に星のような形ができるので、その中の余計な線を省く。
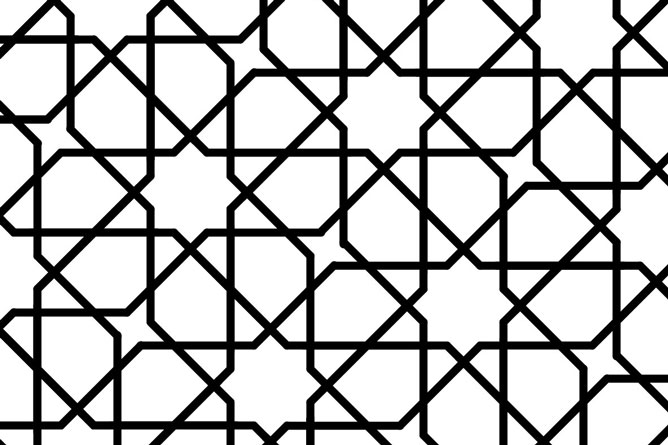
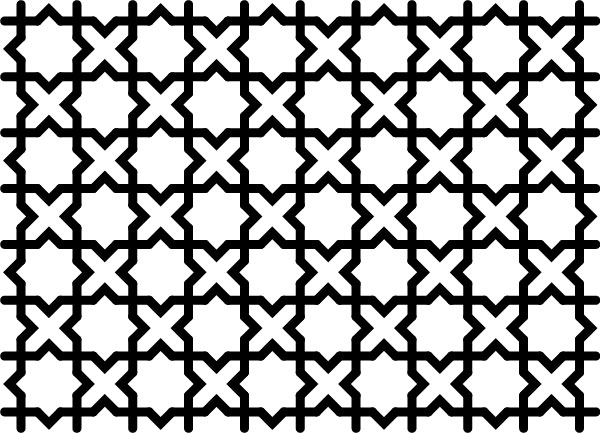
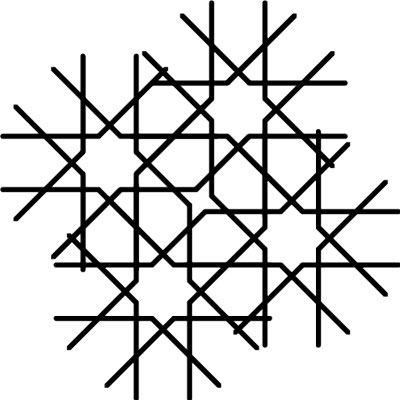
更に柄を広げて、完成。星の周りに正八角形が出来ているところが面白い。
左回りに22.5度(45度の半分)傾けると、また違った趣の柄に。
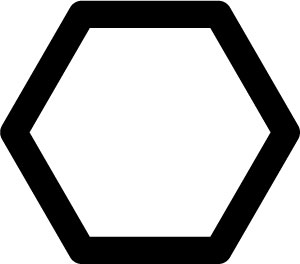
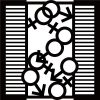
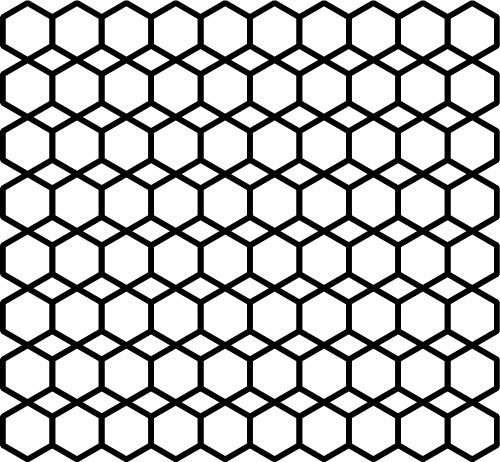
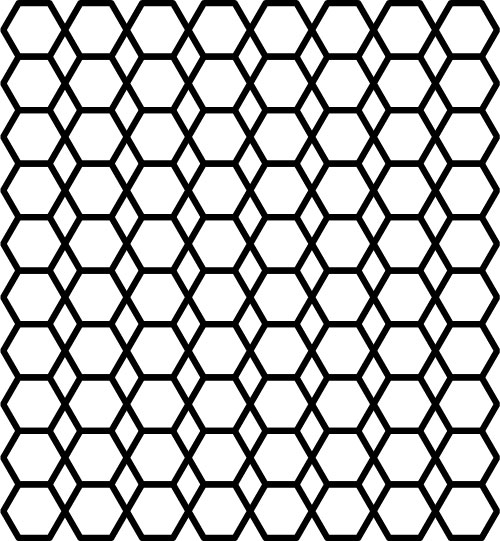
今度は六角形を描く。
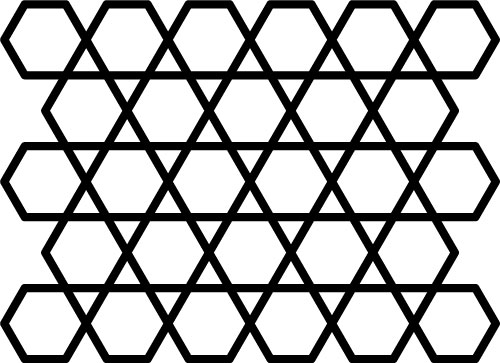
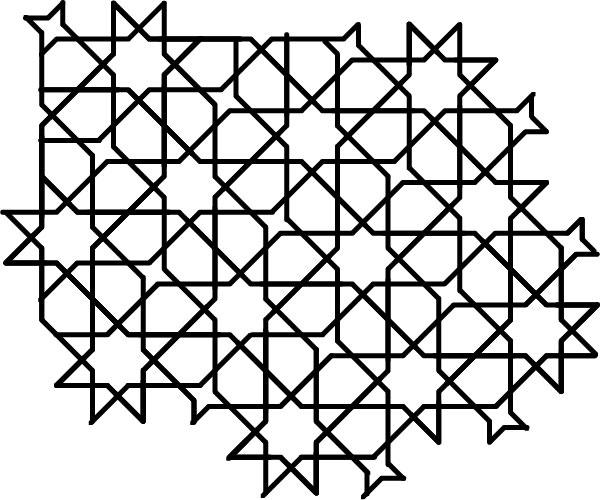
六角形を並べる。六芒星が並んだような柄になる。
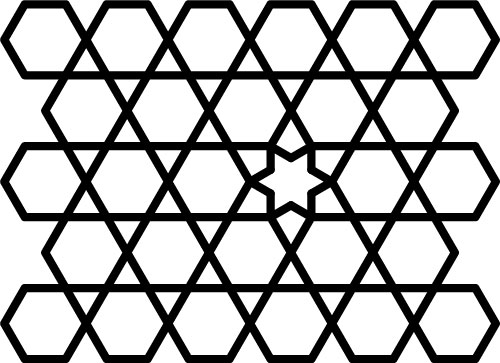
一つの六角形の中に、六芒星の中の線を省いた形の星を描く。
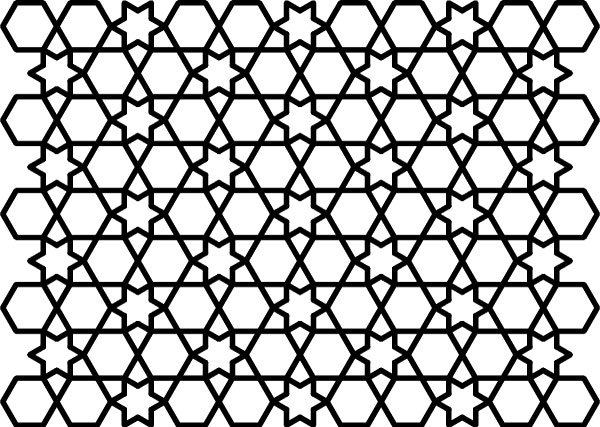
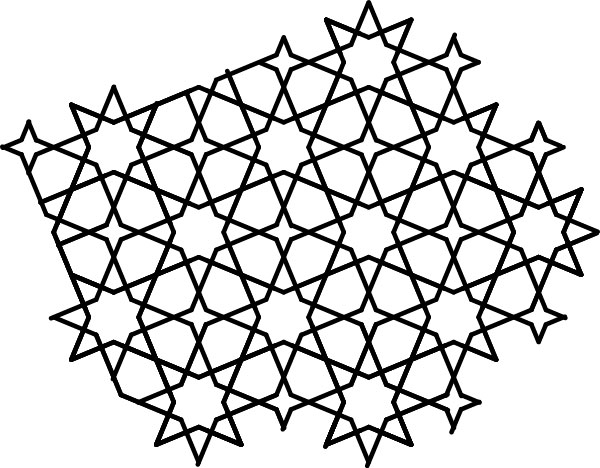
全体に星を増やして、完成。

左回りに30度傾けても良し。
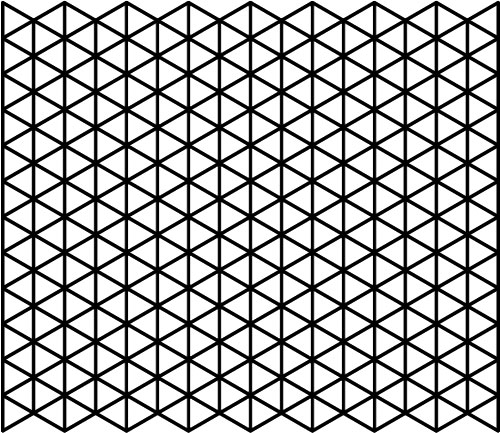
六角形は、正三角形が6つ並んだ形である。
そのため、組み合わせたり省いたりすることで、様々な柄を作り出すことができる。
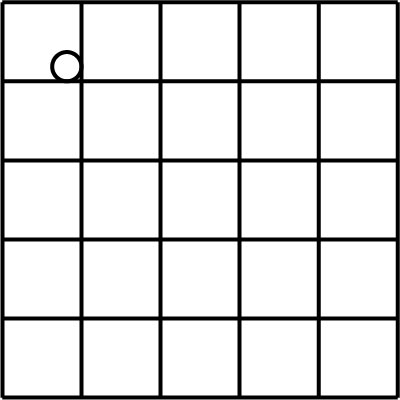
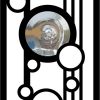
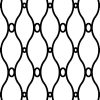
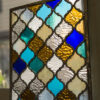
今度は直線に円を組み合わせてみる。先ずは格子状の線を描き、角に内接した円を置く。比率は、線と線の間隔100に対して、円の直径を37とする。
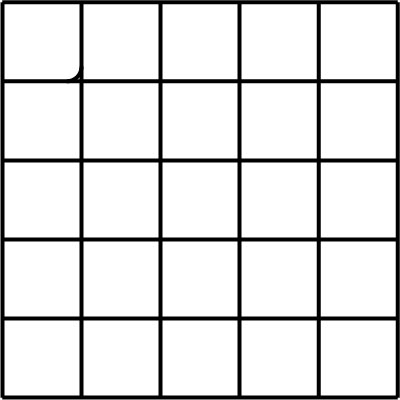
円を1/4にカット。
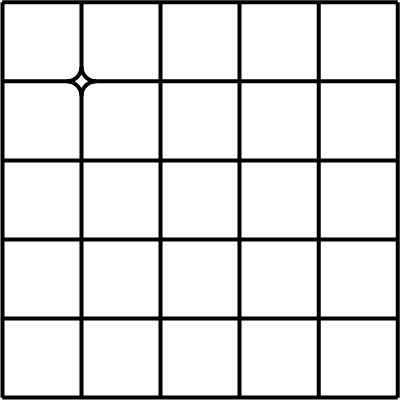
同様に、線の交点の周りに、ぐるりと1/4の円を描く。それでできたダイヤ型のピースの中の線を消す。
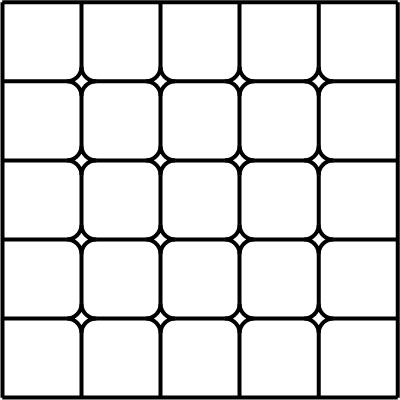
全ての交点に並べる。
出来た形を2倍に拡大したものを、重ねる。
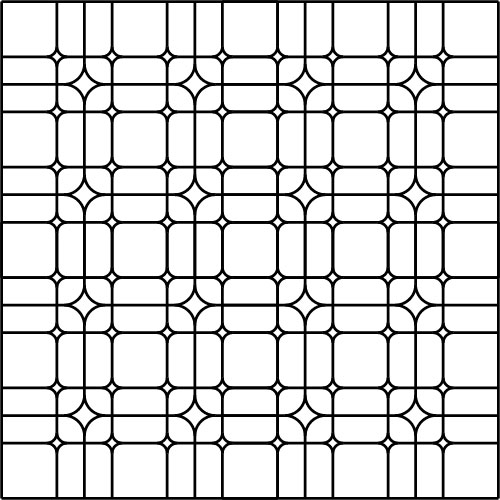
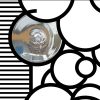
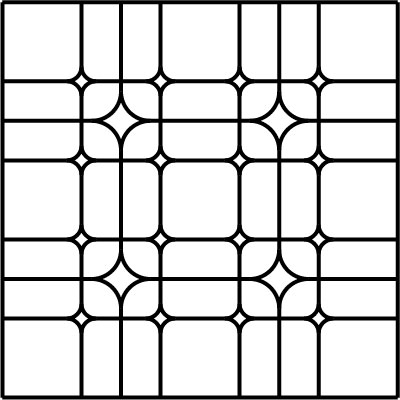
それを適当な数並べて、柄の完成。
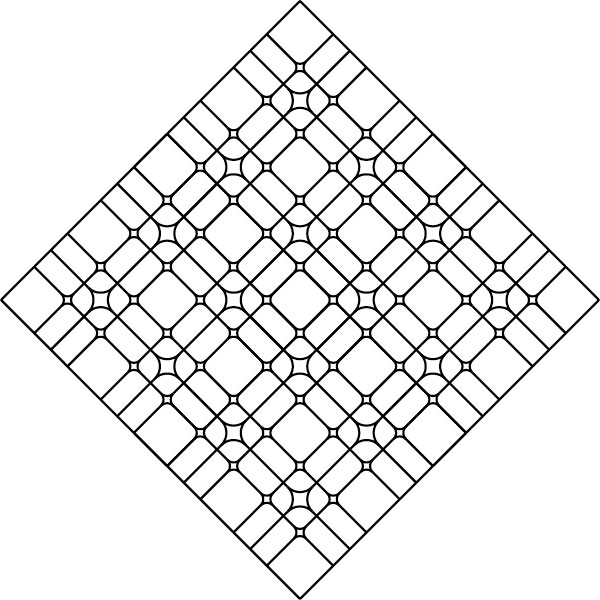
この柄は、このように45度回転させた方が見栄えがある。

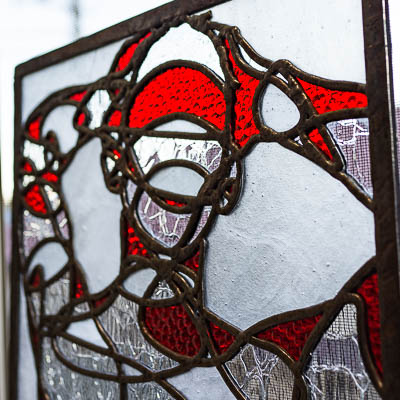
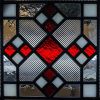
色を入れるとより雰囲気が出て良い。
今回は線のみで色やガラスのイメージは入れていないが、入れるとまたかなり違ったイメージになると思う。
近々、曲線(正円や楕円)を加工した柄も描いてみようと思う。