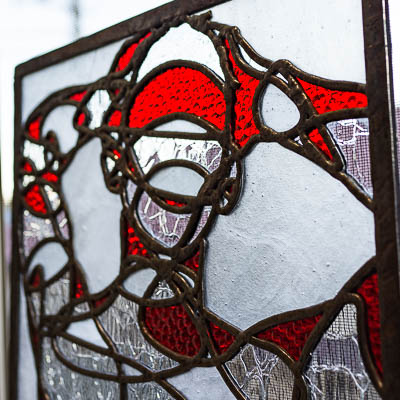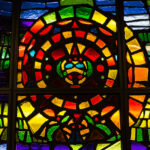
前回に続き、今回もステンドグラスのパターンを描いてみる。
今回は、幾何学的な曲線(正円、楕円)を加工したパターンだ。
デザインとその過程
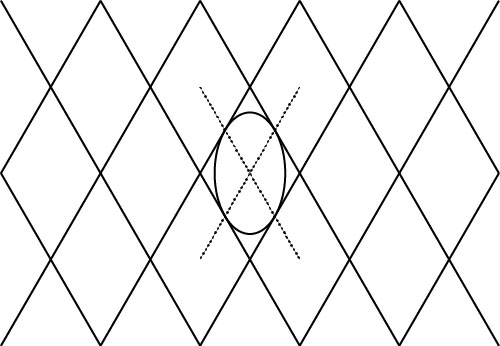
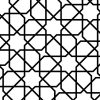
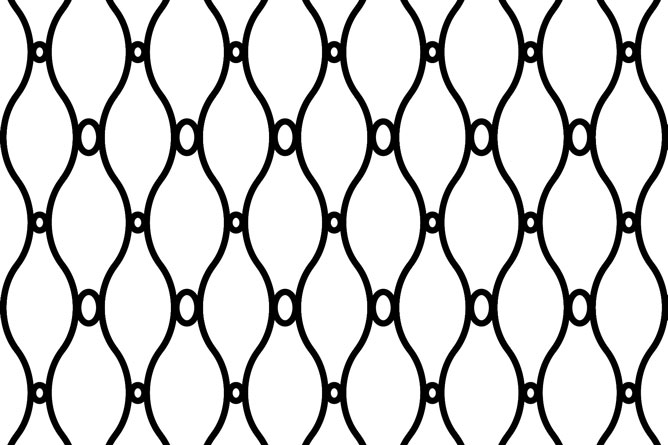
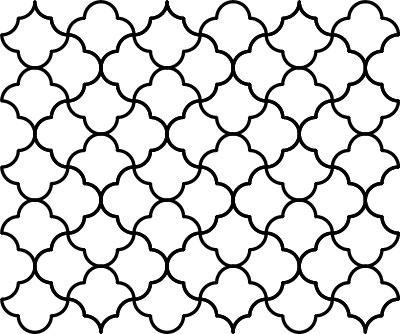
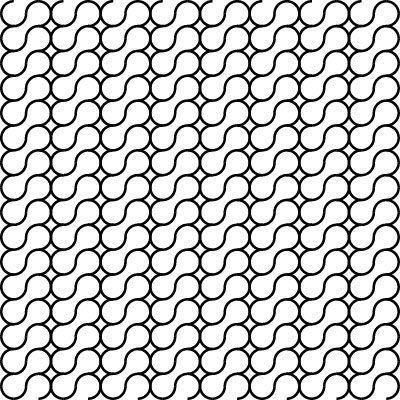
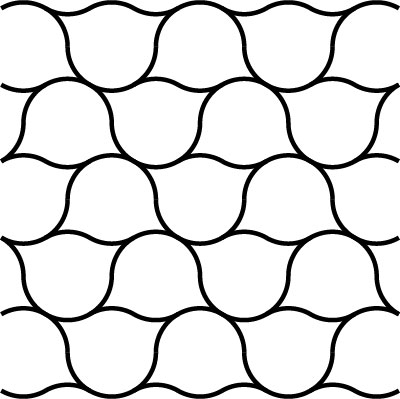
垂直に対して30度傾けた線でロサンジュ(菱形)を描き、菱形に内接する楕円を描く。このとき、内接点が斜線の交点の中心になるようにする。
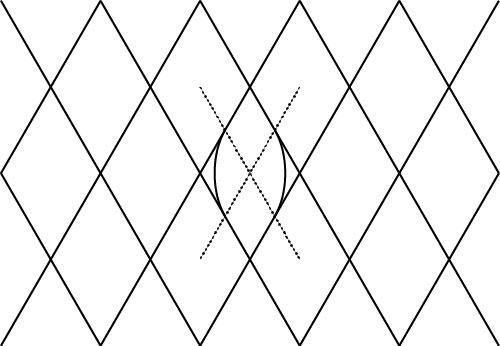
内接点を境に、楕円の上下を消す。
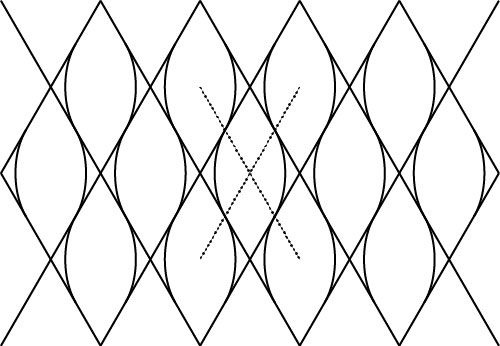
全てのひし形に同様の線を描く。
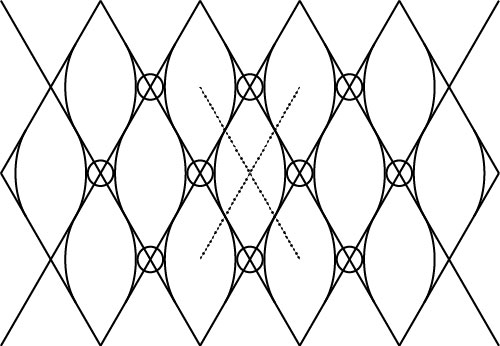
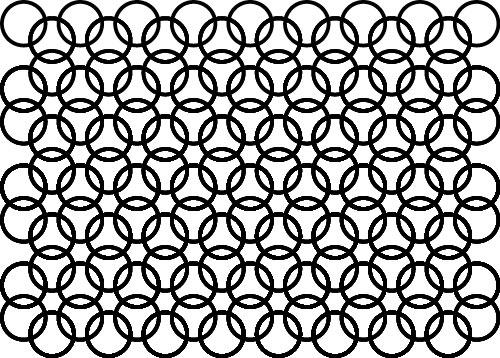
斜線の交点に、正円を描く。円の大きさは、左右にある楕円に接するように。
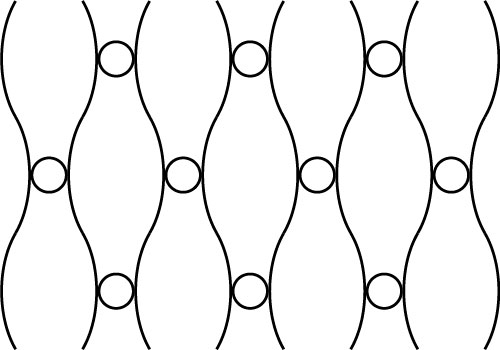
斜線を消す。
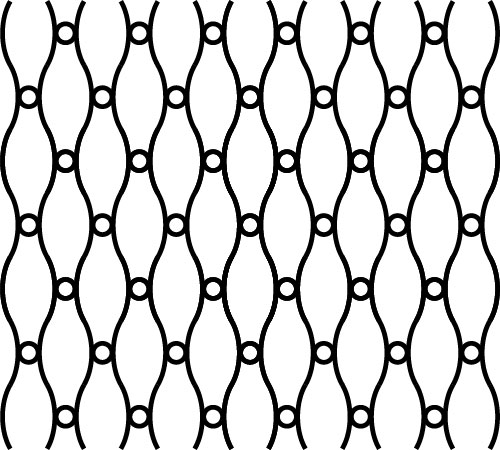
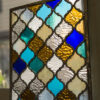
同じ柄を敷き詰め、線をケイムの太さにする。これで一旦完成。
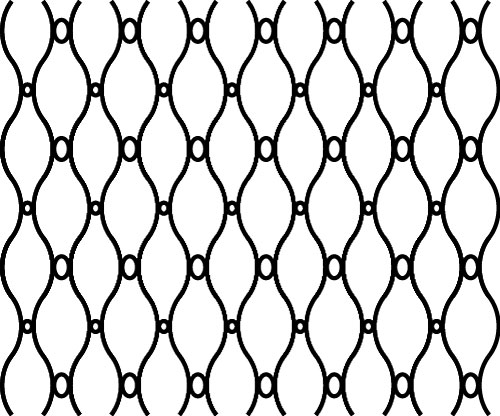
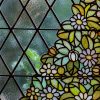
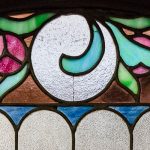
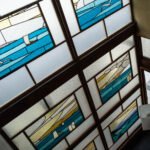
正円を2種類の楕円に変えたバージョン。これは、晩香蘆のデザインと、ほぼ同じもの。
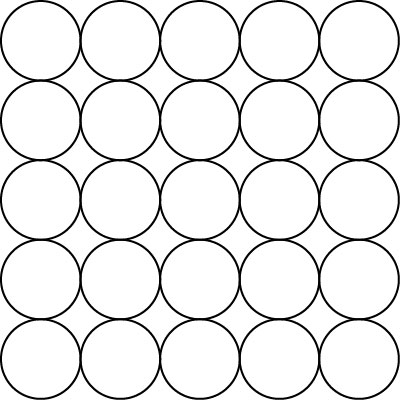
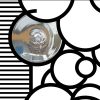
直径が100の正円を等間隔に敷き詰める。
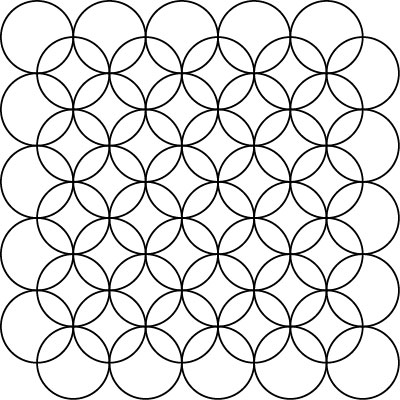
全部を、右に50、下に50ずらした位置にコピーする。これはこれで一つの柄。
更に全体を、下か左に50ずらした位置にコピーし、形を整える。これが完成形。
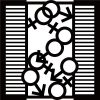
2つ前の柄の一部をくりぬき、イチョウ型の模様を作る。
広げて大きな柄にする。

45度回転。
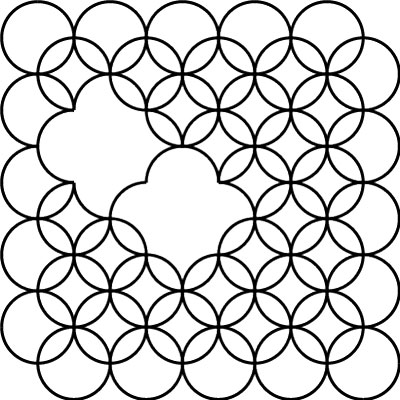
また前の柄に戻り、今度は上のようにくりぬく。
広げる。
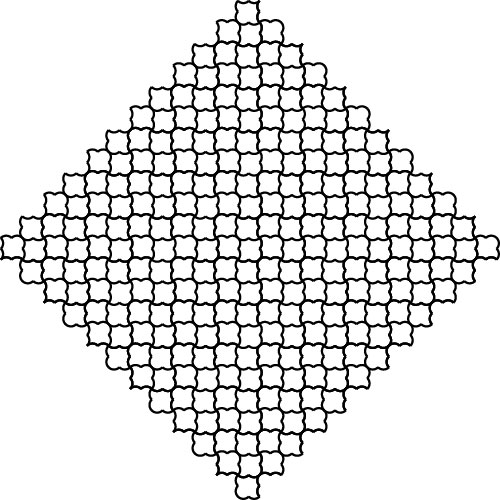
45度回転。
重ねる前の円に戻り、円の一部をカット。
敷き詰める。
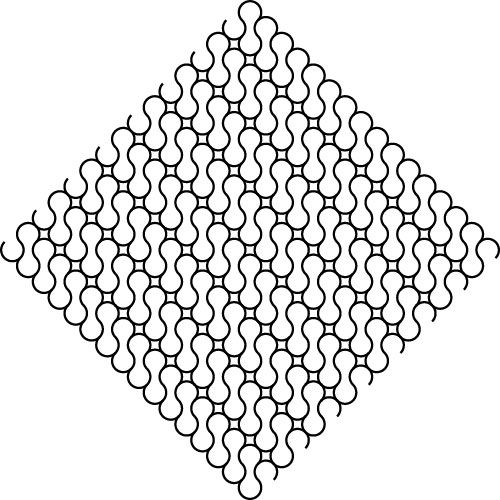
45度回転。
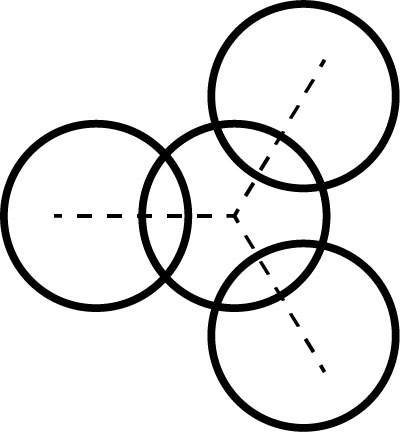
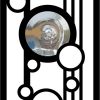
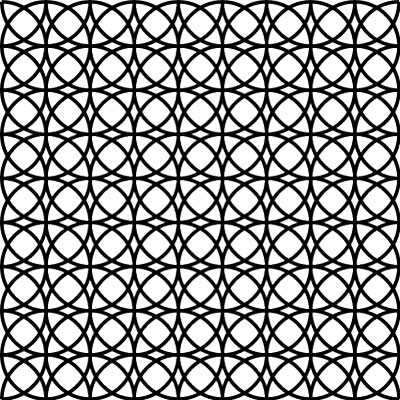
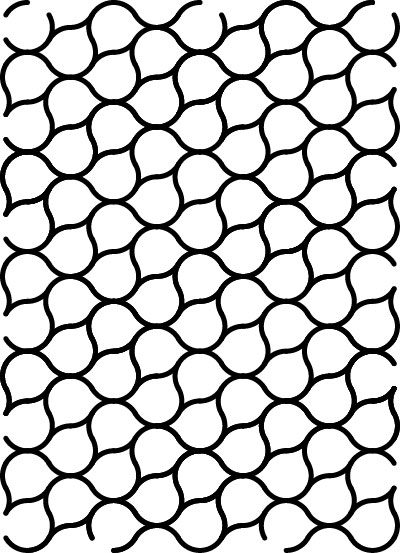
直径120の円を描き、それを右に90移動してコピーする。そこから、コピーした円に対して三方向に同じように円を2つコピーする。
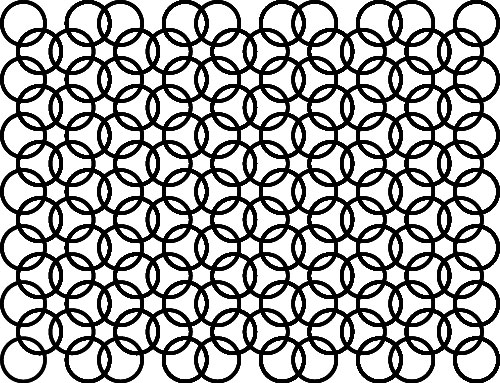
同じ要領で、ひたすらコピーして敷き詰める。これで完成。
30度回転。あまり印象は変わらず...。
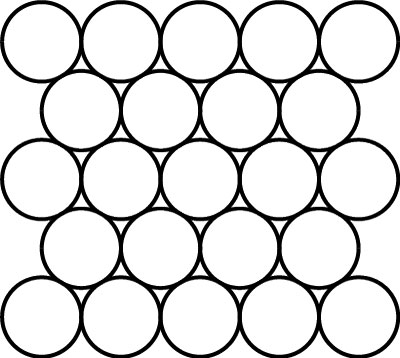
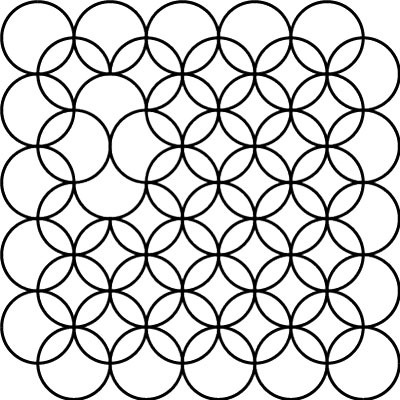
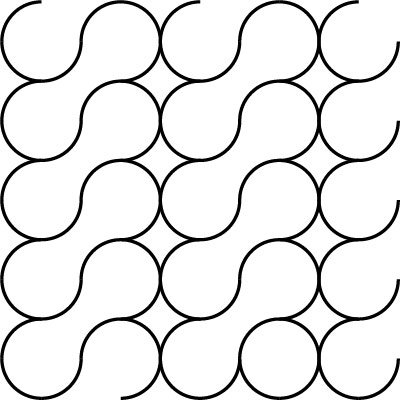
今度は、円を可能な限り密着して敷き詰める。
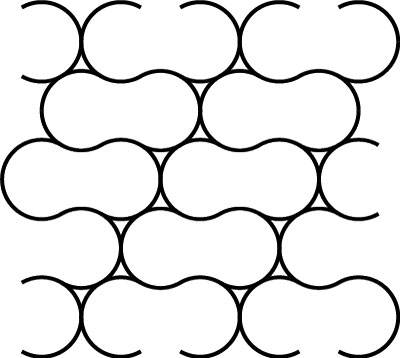
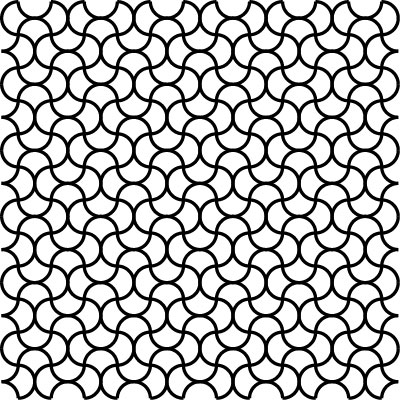
2つ画の円の境目をなくした柄。
その変形バージョン。
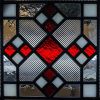
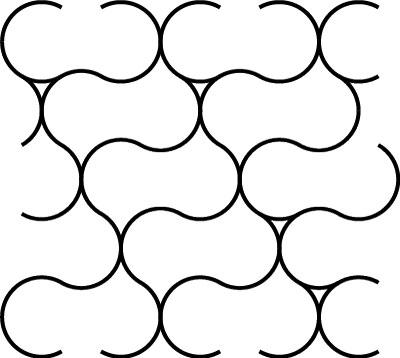
一つの円と隙間を使ったパターン。
30度回転。
曲線だけを使った柄は、直線と違って柔らかいイメージになる。それはそれで良いのだが、直線と曲線を上手く組み合わせて、もう少し偏りのないデザインが描けたら、きっともっと良いモノになる気がしている。
その辺りを、また近々チャレンジしてみたい。